Page contents
Create repository
Introduction
In Git, all content is organized into repositories. A Git repository can be thought of as the contents of a directory (or folder), including any subdirectories and their contents, with metadata (also stored in the same directory structure) that records the history of changes (file additions, deletions, or modifications) committed to that repository over time.
Git is not just a version control system (VCS), but a particular kind of VCS: a distributed version control system (DVCS). Git permits all of the contributors to a repository to work on their own clones of that repository; the commits (sets of changes) recorded to the multiple clones can be merged as needed, using Git commands to perform the merges and resolve conflicts. As a rule, creating and maintaining these multiple clones, and merging their changes together, is most easily done if all of the contributors have network access (but not necessarily full-time access) to a shared location, where a remote clone of the repository is kept: each contributors pushes the commits in their local clone to this remote clone, and pulls the other contributors’ commits from the remote clone to the local clone.
GitHub is a cloud-based service for hosting and managing these remote clones. It is by no means the only one: BitBucket and GitLab are 2 other widely used services of this type; alternatively, many development organizatons maintain their own private remote clone hosts. In any case, please note that these hosting services are not part of Git itself; they simply make it easier to use the distributed features of Git, and (quite often) to maintain one specific clone that is treated as the “source of truth”—the clone that, at any given moment, is most likely to contain the definitive content of that repository.
When we use a service like GitHub, we can start a new repository by creating it locally first, or by creating it directly on the hosting service. In this tutorial, we’ll do the latter: create the repository on GitHub, then clone it our local machine. Because this repository will be used for the content of a GitHub Pages site connected directly to your GitHub user account (i.e. a personal GitHub Pages site), we will use a very specific rule for naming the repository.
Steps
-
Navigate to https://github.com, and sign in (if you haven’t already done so).
-
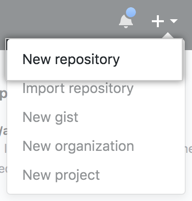
In the upper-right corner of any page in GitHub, use the + drop-down menu, and select New repository.

-
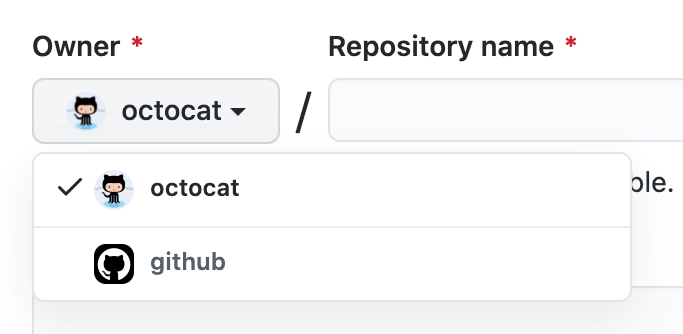
Use the Owner drop-down menu, and select the account you want to own the repository. In this case, if more than one account appears, select your personal account.

-
Type a name for your repository and an optional description. Since this is an account-level GitHub Pages site, your repository must be named
{user}.github.io, where{user}is your GitHub user name. For example, if your GitHub user name isjohndoe001, this repository must be namedjohndoe001.github.io
-
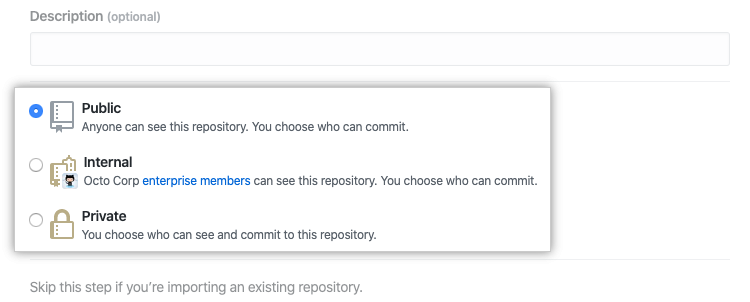
Choose a repository visibility of Public.

-
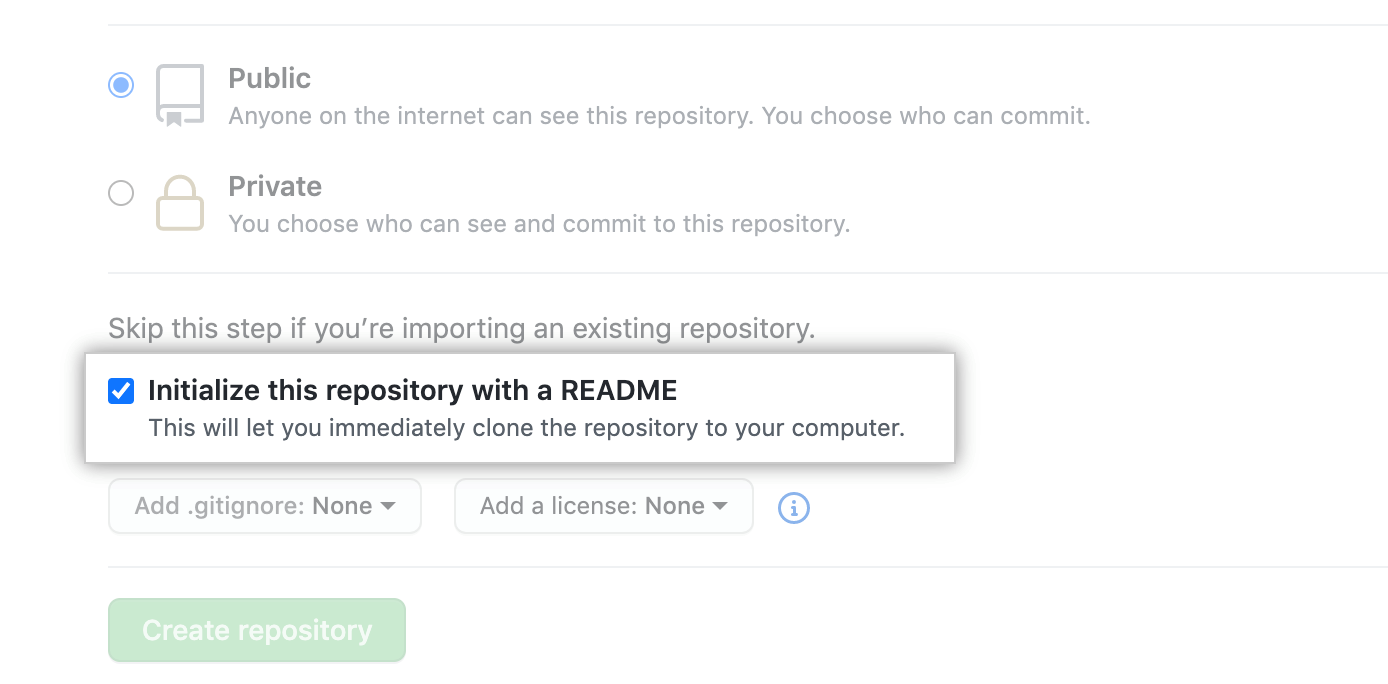
Select Initialize this repository with a README.

-
Click Create repository.

-
Leave the resulting page open in your browser; you’ll need information from this page to complete the next section.
Create local clone
Introduction
When we create a repository directly in GitHub, we don’t type (or even see) the actual Git commands that are executed to perform the task, but they are executed nonetheless. Every Git command actually consists of the command git (note the casing), followed by a subcommand (to create a brand new repository, the subcommand is init), followed by any required and optional arguments.
The first Git command we’ll use in this tutorial is the one that clones a remote repository to the local machine: git clone. However, we have to do a few things before we get to that command. In particular, we need to navigate to the local directory that will hold the cloned repository. In the steps below (and in the following pages), the areas with the dark background and light text contain the commands you’ll need to type.
Notes
-
Some of the commands are shown with text enclosed in curly braces:
{...}: these are placeholders. The instructions will tell you what you need to type in place of these placeholders. Important: Unless otherwise noted, the correct commands, after replacement of the placeholders, must not contain any curly braces. -
Most commands (though not all), on execution, display some kind of textual information indicating whether the command completed successfully—and if not, they display some information about any error that may have occurred. Important: Pay close attention to what is displayed in the console after each command. If the command didn’t complete successfully, investigate and try to resolve the error condition immediately; do not assume that subsequent commands will succeed if a previously failed command has not been corrected and re-executed successfully.
Steps
-
Open the appropriate terminal application for your operating system:
-
Windows: Git Bash
Git Bash (which may be run by itself, or in the Windows Terminal application) hosts a version of the Bash shell, ported to Windows.
-
macOS: Terminal
By default, Terminal hosts the Z shell (aka zsh); for most purposes, we can think of Z shell as a variant of Bash with additional features. (Terminal can also be configured to run Bash instead of Z shell.)
-
Linux: Terminal
In most desktop Linux distributions (e.g. Ubuntu), the Terminal application hosts the Bash shell.
-
-
Navigate to the projects directory for the bootcamp:
cd ~/deep-dive/java/projects -
In order to create a local clone of the remote repository, you must first get its URL.
-
In the web page displayed at the completion of Create repository, click the Code button.
-
Make sure that the Local tab (at the top of the pop-up that appears) is selected.
-
Click the SSH tab in the pop-up; when that tab is selected, the URL displayed below the tab will start with
git@github.com. -
Click the copy icon (the pair of overlapping squares) to the right of the URL; this copies the URL to the clipboard.
-
-
In your shell program, use the
git clonecommand to create a local clone of the repository. In the commands shown below, replace{repositoryUrl}with the contents of the clipboard (i.e. the URL you copied in the previous step), and replace{repositoryName}with the name of your repository (i.e. the name you specified in step 3 of Create repository).git clone {repositoryUrl} cd {repositoryName}
When you’ve completed all of the steps in this section, leave your shell program open; you’ll need it in the next portion of the tutorial, “Initial content”. (In fact, you should leave it open, in the same working directory, throughout all of the steps of this tutorial.)